
What Are the Three Cuts That Prevent Bark Tearing on a Heavy Limb?
A heavy fruit-tree limb can rip a long strip of bark from the trunk if you make one cut from the top. The safer sequence is an undercut, a relief cut farther out, and a final cut just outside the branch collar.
October 2, 2026
By Diego Navarro
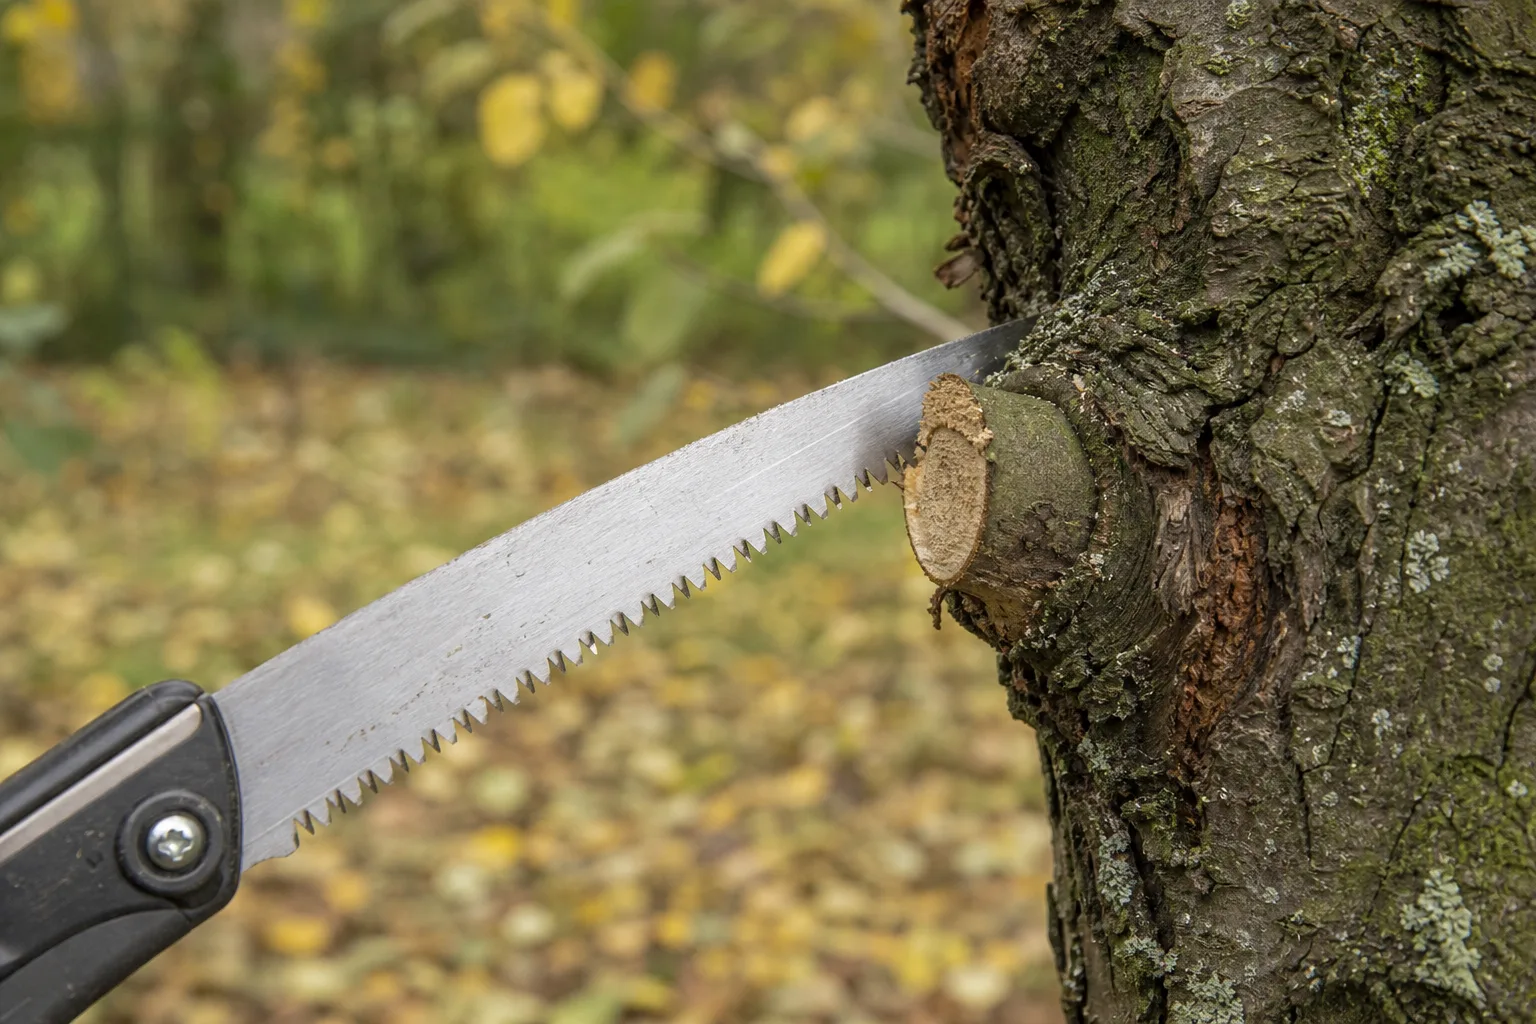
Start with this: a heavy limb should not come off in one top-down cut. Make an undercut from below, a relief cut from above farther out to remove the limb’s weight, then make the final cut just outside the branch collar so the remaining stub does not tear or protrude from the trunk.
Can three cuts prevent bark tearing on a heavy limb?
Yes, three cuts greatly reduce the chance that a heavy fruit-tree limb will split downward and pull bark from the trunk, provided the limb is small enough for you to control safely. The sequence is an undercut, a relief cut, and a final cut just outside the branch collar. It protects the tree and gives you a manageable piece to lower.
The first cut is shallow and comes from below. The second cut comes from above and removes the weight beyond the first two cuts. The last cut is not where the limb first breaks. It is the careful cleanup cut at the trunk.
That final position matters. Specifications for tree work say branches should be cut just outside the branch collar to promote sealing of the wound, and another standard says broken limbs should be sawn close to the trunk without cutting into the collar. Read the branch-collar specification here and the broken-limb guidance here](https://louisvillemsd.org/sites/default/files/inline-files/MSD_Standard_Specifications_090109.pdf).
Everyone says, “Just cut from the top.” On a heavy limb, that is how you get a hanging strip of bark and a bad afternoon. The tree does not care that the saw was sharp.
What should you do before cutting a heavy fruit-tree limb?
Before cutting a heavy fruit-tree limb, identify the branch collar, estimate where the limb will fall, remove people and obstacles from that area, and check whether you can control the piece without climbing or reaching beyond your balance. If the limb is too heavy to hold with one hand after the relief cut, use a qualified tree worker instead of improvising with a ladder.
The branch collar is the slightly swollen junction where the limb joins the trunk or a larger branch. Do not mark the final cut at the outer edge of the swelling by guessing from a photograph. Stand where you can see the whole junction, then plan to leave the collar intact.
Clear a landing area at least as wide as the limb’s length if the branch can swing or roll. Move pots, hoses, chairs, and children before the saw comes out. A cut limb has no manners.
Use a sharp hand pruning saw for a limb that fits the saw’s capacity, and stop if the blade binds, the wood shifts, or the branch begins to hang. A hand saw gives you control but takes longer than a powered saw. That slower pace is the trade-off I accept around a trunk.
In Central Texas, fall work also means checking the ground before you set up. Black clay can be firm in one spot and slick a few feet away after rain, while limestone can make a stable stance awkward. If your feet are not solid, the cut is not ready.
Where should the undercut go?
Place the undercut on the underside of the limb, about 6 to 12 inches out from the trunk or larger branch, and saw upward roughly one-quarter of the way through the wood. The undercut creates a controlled starting point for the break and helps keep the bark from peeling toward the trunk when the limb bends under its own weight.
For a limb 4 inches thick at the cutting point, begin with an undercut about 1 inch deep. The exact depth changes with the wood and the saw, so stop before the kerf closes tightly around the blade.
Keep the undercut away from the branch collar. This is not the final cut, and it should not be pressed against the trunk. Its job is to interrupt the downward splitting force before that force reaches the collar.
The honest downside is that an undercut puts your hand and face below the limb. I keep my body to one side, not directly beneath the branch, and I never make this cut while standing on the top step of a ladder.
Make the cut cleanly rather than sawing back and forth until the bark is shredded. A pruning saw is useful here because its narrow blade fits into a tight underside angle, but the trade-off is fatigue if the limb is thick. Take a break before your arm starts rushing the work.
Where should the relief cut go?
Make the relief cut from the top of the limb, about 2 to 4 inches farther out toward the tip than the undercut, and continue until the limb breaks away between the two cuts. This removes the weight of the outer limb before you attempt the final cut, leaving a short stub that is easier to control and less likely to tear bark.
If your undercut is 8 inches from the trunk, place the relief cut about 10 to 12 inches from the trunk. Saw down from above, keeping the blade on the outer side of the undercut. The limb should break between the cuts, not at the trunk.
Do not stand under the section that is about to drop. A 3-inch fruit-tree limb can be awkward enough to twist the saw or knock your shoulder even when it looks harmless from the ground.
The relief cut’s trade-off is waste. You are intentionally leaving a stub that still needs a final cut, so the job takes three cuts instead of one. That small waste of time is cheaper than repairing a strip of torn bark or trying to balance a falling limb with one hand.
If the relief cut does not break the limb, stop and reassess instead of forcing the saw. The limb may be supported by another branch, under more tension than it appeared, or simply too large for hand control. Cut smaller sections from the outer end only if you can do so without climbing into the limb’s path.
How should you make the final cut at the collar?
After the outer limb has been removed, make the final cut just outside the branch collar, cutting as close as possible without cutting into the collar. The cut should leave no long stub and no jagged projection, because the branch collar is the tree’s natural boundary for the wound rather than a piece of wood to shave away.
Look again before you saw. The branch collar may be more visible now that the heavy limb is gone, and the remaining stub may have shifted. Start at the top or side where you can keep the saw aligned with the collar, then finish smoothly without gouging the trunk.
A final cut that is too far out leaves a stub that can die back and remain attached. A cut that is too close removes collar tissue. Both errors cost the tree useful structure, so I would rather leave a clean, slightly conservative cut than carve into the trunk trying to make it look perfect.
The research guidance is plain on this point: cut limbs should not protrude from the main stem, and branches should be cut just outside the branch collar. The South Carolina specification states that directly. If the first two cuts left a ragged edge, clean it with a saw at the junction, as close as possible without cutting into the collar, following the broken-limb guidance from Louisville MSD.
Do not paint the cut because it looks unfinished. The sources provided here address cut position and clean removal, not wound paint, so I am not going to invent a promise for a coating. Let the geometry do the work.
Which cutting option is safest for a heavy limb?
For a heavy fruit-tree limb, I would use the three-cut sequence with a hand pruning saw when the limb is low enough to control from the ground. A single top cut is faster but risks bark tearing, while a powered saw can handle larger wood but adds speed, kickback, and control problems that make a small home job less forgiving.
| Cutting option | Best use | Honest downside |
|---|---|---|
| Three cuts with a hand pruning saw | Heavy limbs that can be reached safely from the ground | Takes longer and still fails if the limb is too large to control |
| One top-down cut | Small, light branches with no meaningful weight | Can split downward and tear bark on heavier wood |
| Qualified tree worker with appropriate equipment | Large, high, suspended, or structurally risky limbs | Costs more than a home cut and requires scheduling |
I would not use a single top-down cut on a limb that is 3 inches or more across near the trunk unless the piece is clearly light and unsupported. That is a practical cutoff, not a law of nature. Wood species, length, angle, and hidden tension all change the result.
A powered saw has a real place, but its trade-off is that it removes wood quickly. Quick is not the same as controlled. If you need a ladder, a rope, or a second person to keep the limb from swinging, you have moved beyond the simple garden cut.
Who is the three-cut method for, and who should ignore it?
The three-cut method suits a homeowner removing a low, reachable fruit-tree limb that can be reduced to a controllable piece from solid ground. Ignore this method as a do-it-yourself job if the limb is high, crosses a roof or power line, is cracked at the trunk, is under visible tension, or is too heavy to move safely after the relief cut.
This is for the reader standing beside a tree with a saw, not for someone balancing on a ladder while a 10-foot limb hangs over a driveway. It is also not a repair for a limb that has already split halfway from the trunk.
If you are in Round Rock or Del Valle and the soil is slick after an October rain, wait until your footing is reliable. If the branch sits over a roof, street, fence, or wire, hire the work out. The cost is easier to accept than a damaged roof or a trip to the emergency room, and I am not giving medical advice here. I am telling you not to stand under falling wood.
You can use the plant database to check the tree’s mature form and pruning notes before deciding whether the limb is truly necessary to remove. If you are still unsure about the whole layout, get a concept for your yard before cutting a major structural branch.
I learned the basic respect for a falling limb in my father’s twelve-foot strip of New Jersey clay, where every tomato stake had to survive a hard frost and a narrow driveway. Central Texas changed the argument. Here, the tree can be alive in October and still be carrying a branch that has endured five weeks over 100 degrees.
Is fall the right time to make these cuts on a fruit tree?
Fall is a reasonable time to remove a damaged or clearly hazardous fruit-tree limb, but it is not a reason to perform heavy structural pruning just because the weather is pleasant. Make the cut only when the limb needs removal, use the three-cut sequence, and avoid turning one necessary cut into a general reshaping project.
You are standing in the garden now, so ask one plain question: is this limb dead, broken, rubbing, unsafe, or carrying a load the tree cannot hold? If the answer is no, leave it until you have a clearer pruning reason and better timing guidance for that particular fruit tree.
Fall also brings shorter daylight and quick temperature changes. Start early enough to finish with good visibility, but not so early that wet wood and slick ground put you off balance. A clean cut made safely beats a perfect plan attempted in the dark.
Pruning too much at once is its own failure mode. I keep the work limited to the limb that is damaged or unsafe, then step back and look at the tree from several angles. The research summary supports pruning for vigor and maintaining natural growth habit, not flattening a tree into a shape it cannot keep.
What should you do if the bark tears before the final cut?
If bark tears before the final cut, stop pulling, support the remaining wood if you can do so from a safe position, and use a saw to remove the jagged edge at the trunk or next larger limb without cutting into the branch collar. Do not rip the hanging bark farther and do not leave a long stub protruding from the main stem.
A torn limb changes the plan. The piece may be heavier than it looks because the bark is still attached, and pulling it can extend the injury down the trunk. Move away from the drop zone, let the wood settle, and decide whether the remaining section can be cut from the ground.
The specification guidance says to remove a jagged edge by sawing at the junction with the trunk or next larger limb, cutting as close as possible without cutting into the branch collar. That is the standard I follow. I do not try to make the wound cosmetically tiny by cutting into living collar tissue.
If the tear runs down the trunk, the limb is high, or the remaining wood is suspended, stop and call a qualified tree worker. A three-cut method prevents many tears, but it does not make an unstable tree safe. That is the line.
What are the most common questions about three cuts on a heavy limb?
The short answers below cover the decisions that matter most: where the first two cuts go, where the final cut belongs, and when a homeowner should stop. Each answer assumes you are working from solid ground on a limb that you can control without climbing into its fall path.
How far from the trunk should the undercut be?
Place the undercut about 6 to 12 inches from the trunk or larger branch, depending on limb size, and saw upward roughly one-quarter of the way through. Keep it outside the branch collar and use it only to interrupt the split before the relief cut removes the limb’s weight.
How far apart should the first two cuts be?
Keep the relief cut about 2 to 4 inches farther toward the limb tip than the undercut. For example, an undercut at 8 inches from the trunk can pair with a relief cut at 10 to 12 inches. The separation leaves a controlled break and protects the collar from the limb’s downward pull.
Where should the final cut be made?
Make the final cut just outside the branch collar, as close as possible without cutting into the collar. The finished cut should remove the remaining stub without leaving a projection from the main stem, while preserving the swollen collar at the trunk or larger branch.
Can I use one cut instead of three on a heavy limb?
No, I would not use one top-down cut on a heavy limb because the wood can split downward and tear bark toward the trunk. Use an undercut, a relief cut, and a final collar cut when the limb is reachable and controllable, or hire a tree worker if it is high, suspended, or too heavy.
Should I prune a fruit tree heavily in fall?
No, fall is not a reason for heavy structural pruning. Remove a limb that is dead, damaged, rubbing, or unsafe, then stop and preserve the tree’s natural growth habit. If the branch is not a clear problem, wait for species-specific timing rather than reshaping the tree simply because you have a saw in hand.
What should I do if the branch collar is hard to see?
If the branch collar is hard to see, stop before making the final cut and inspect the junction from another angle after the outer limb is removed. Do not guess by cutting flush with the trunk. A conservative cut just outside the collar is safer than removing collar tissue to make the wound appear smaller.
When should I hire a tree worker instead of making the cuts myself?
Hire a tree worker when the limb is high, crosses a roof or power line, is cracked at the trunk, hangs under tension, requires a ladder, or is too heavy for you to control from the ground. The three-cut sequence is for a reachable garden limb, not suspended wood over a structure or public path.
Want a plan for your own yard?
Tell us the space and we will put a planting plan together for it. Start at get my concept, or browse what actually grows where you are over on plants.
Frequently asked questions
How far from the trunk should the undercut be?
Place the undercut about 6 to 12 inches from the trunk or larger branch, depending on limb size, and saw upward roughly one-quarter of the way through. Keep it outside the branch collar and use it only to interrupt the split before the relief cut removes the limb’s weight.
How far apart should the first two cuts be?
Keep the relief cut about 2 to 4 inches farther toward the limb tip than the undercut. For example, an undercut at 8 inches from the trunk can pair with a relief cut at 10 to 12 inches. The separation leaves a controlled break and protects the collar from the limb’s downward pull.
Where should the final cut be made?
Make the final cut just outside the branch collar, as close as possible without cutting into the collar. The finished cut should remove the remaining stub without leaving a projection from the main stem, while preserving the swollen collar at the trunk or larger branch.
Can I use one cut instead of three on a heavy limb?
No, I would not use one top-down cut on a heavy limb because the wood can split downward and tear bark toward the trunk. Use an undercut, a relief cut, and a final collar cut when the limb is reachable and controllable, or hire a tree worker if it is high, suspended, or too heavy.
Should I prune a fruit tree heavily in fall?
No, fall is not a reason for heavy structural pruning. Remove a limb that is dead, damaged, rubbing, or unsafe, then stop and preserve the tree’s natural growth habit. If the branch is not a clear problem, wait for species-specific timing rather than reshaping the tree simply because you have a saw in hand.
When should I hire a tree worker instead of making the cuts myself?
Hire a tree worker when the limb is high, crosses a roof or power line, is cracked at the trunk, hangs under tension, requires a ladder, or is too heavy for you to control from the ground. The three-cut sequence is for a reachable garden limb, not suspended wood over a structure or public path.
Free, no obligation
Ready to design your dream landscape? Start here.
Tell us where you are and we will start a free profile for you, with plants that actually survive your climate and a real sense of what the build would cost.