
How to Design Drip Irrigation Zone by Zone
Build drip irrigation around soil type first, then match emitter flow to the size of each plant. This guide gives you the spacing, gallons per hour, zone limits, and fall installation checks that keep a home garden watered without treating every bed like the same piece of ground.
October 1, 2026
By Diego Navarro
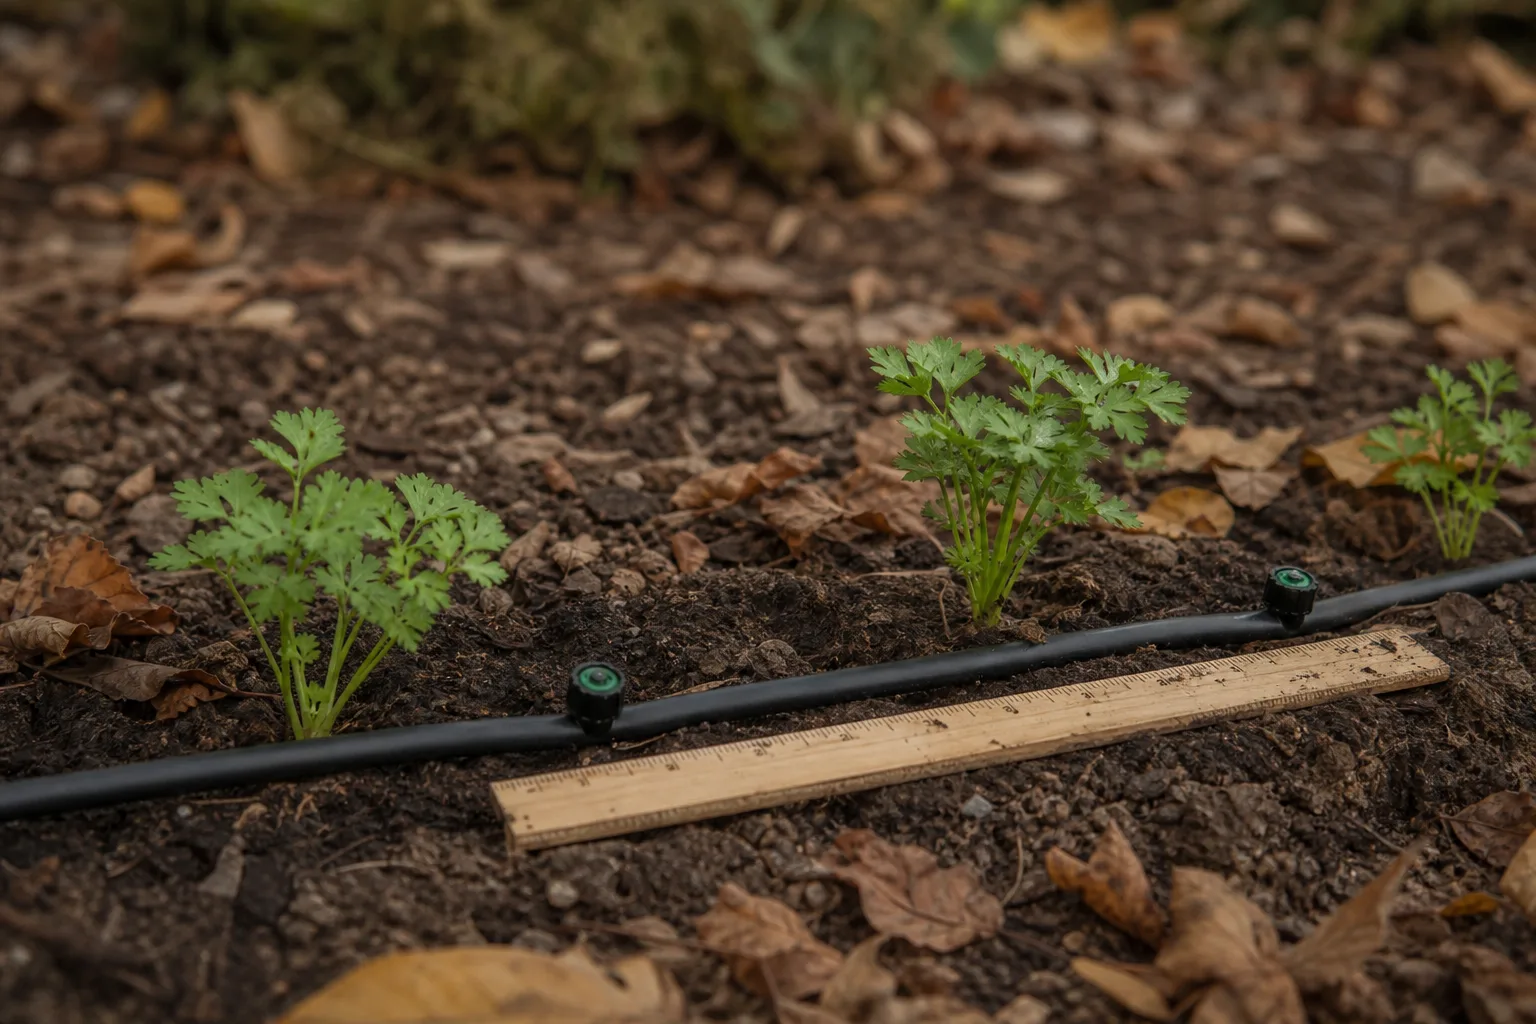
Start with soil type, not the tubing package on the shelf. Space emitters 12 inches apart in sand, 18 inches in loam, and 24 inches in clay, then match flow to plant size so each zone wets the root area without exceeding its water supply. The tubing is not the design. The soil is.
How far apart should drip emitters be in each soil type?
Place drip emitters 12 inches apart in sand, 18 inches apart in loam, and 24 inches apart in clay because water spreads differently through each soil. Put one emitter about 6 inches from each plant stem, then add emitters for larger root systems instead of assuming one outlet can wet everything.
Colorado State University Extension gives those three spacing numbers to compensate for lateral water movement through soil (Colorado State University Extension). Sand spreads water less broadly, so its emitters need to sit closer together. Clay spreads water farther, so 24 inches can be enough for a continuous line.
That does not mean clay needs less attention. Clay can move water 2.5 to 4 feet from an emitter, according to Washington State University Extension (Washington State University Extension), but a hard, dry clay surface may initially resist water. Run the system slowly and check below the mulch with a hand trowel.
In Austin, I treat black clay and caliche as two separate arguments. Black clay swells and shrinks, while caliche can stop a shovel at 8 inches, so I lay the line where roots can actually occupy the soil instead of forcing a perfect grid into rock. Perfect grids are lovely until the rock bar comes out.
Should an emitter sit beside every plant?
Yes, place an emitter within about 6 inches of each plant stem so water begins near the active root zone, but do not press the emitter against the stem. Larger perennials need two 0.5 gallon per hour emitters at the base, especially in clay or loam where one clogged outlet can leave half the root area dry.
The 6 inch placement rule comes from the practical goal of wetting the root zone rather than the mulch alone (Yardtopia). As a plant grows, move or add outlets so the wet pattern follows the roots. A buried root system does not care where the plant tag used to be.
For a small flower or vegetable, one 0.5 gallon per hour emitter is a reasonable starting point. The tradeoff is limited coverage, so sandy soil may require two or three emitters where clay or loam might need one or two for the same plant.
For a larger perennial, I prefer two 0.5 gallon per hour emitters rather than trusting one 1 gallon per hour outlet when the plant is in clay or loam. You get the same total flow, plus a little insurance against one emitter failing. Nothing is more educational than a dead half of a plant.
How many gallons per hour should each plant receive?
Use 0.5 gallon per hour emitters for small plants and flowers, two 0.5 gallon per hour emitters or one 1 gallon per hour emitter for a 1 to 5 foot shrub or small tree, and increase to 2 or 4 gallons per hour as that woody plant grows. A shrub 5 feet or taller may need three 1 gallon per hour emitters.
This flow plan matches the guidance summarized by Colorado State University Extension, including starting a 1 to 5 foot shrub or small tree with two 1 gallon per hour emitters placed 12 inches from the base (Colorado State University Extension). The tradeoff is that higher flow shortens watering time but can outrun tight or compacted soil.
Put the two emitters 12 inches from the trunk or base, not directly against it. For a plant that grows beyond its original root ball, add outlets around the outer root area rather than simply doubling flow at the trunk. Roots follow moisture. They are not sentimental about the planting hole.
Pressure compensating emitters are useful on sloped or uneven ground because they help maintain a steadier flow when pressure changes (DripWorks). Their tradeoff is price and another small device to inspect, so I use them where elevation changes are real, not because the package says professional.
How do I calculate the total flow for one irrigation zone?
Add the gallons per hour of every emitter in the zone, then compare that total with the maximum flow your filter, pressure regulator, valve, and water source can deliver. Fifty 2 gallon per hour emitters equal 100 gallons per hour, so the zone must support at least that demand before you add another outlet.
Write the count on a piece of tape at the valve box. If a zone has thirty 0.5 gallon per hour emitters and ten 1 gallon per hour emitters, its total is 25 gallons per hour. That arithmetic is not glamorous, but it prevents the last plants on the line from receiving a polite mist.
Do not confuse gallons per hour with gallons per minute. A zone using 100 gallons per hour uses about 1.67 gallons per minute. Your irrigation parts may list capacity in either unit, so convert before deciding that a zone is small enough.
A long run adds another problem: pressure and friction can reduce delivery near the end. If the last emitters look weaker, split the bed into two zones rather than installing larger emitters everywhere. More flow is not a repair for poor layout.
Which soil based drip layout should I choose?
Choose close emitter spacing in sand, medium spacing in loam, and wider spacing in clay, then adjust the number of emitters for each plant’s root area. The best layout is the one that wets the full planting area without keeping heavy soil saturated or leaving sandy soil dry between outlets.
| Soil type | Starting emitter spacing | Practical flow approach | Honest downside |
|---|---|---|---|
| Sand | 12 inches | Use 0.5 gallon per hour for small plants, and consider two or three emitters where one would serve clay | More emitters and more total flow may be needed to wet a wide root area |
| Loam | 18 inches | Use the plant size rules, with two 0.5 gallon per hour emitters for larger perennials | A single spacing rule can miss compacted patches or mixed soil in the same bed |
| Clay | 24 inches | Use fewer, wider spaced outlets, but check infiltration and consider two emitters for reliability | Water spreads widely, yet dry clay can absorb slowly and runoff if rushed |
The table is a starting design, not a license to ignore the soil under the mulch. Dig a small inspection hole after a cycle and check whether moisture reaches the intended root depth. If water is pooling, reduce cycle length or split the run.
Every method has a cost. Sand costs you extra emitters and possibly more zone capacity, while clay costs you patience and careful run times. Loam is easier, but mixed fill soil can behave like neither loam nor anything else with a respectable name.
How should I group plants into irrigation zones?
Keep each irrigation zone uniform in soil type, sun exposure, and plant water demand. A sunny sandy bed, a shaded clay border, and a row of large shrubs should not share one schedule because one timer cannot give each area the right duration without overwatering one group or starving another.
Start by drawing the garden as separate blocks. Mark sand, loam, clay, full sun, shade, small plants, perennials, shrubs, and trees. Then count every emitter in each block and total the gallons per hour before buying valves or cutting tubing.
A mixed zone is sometimes unavoidable, especially in a small yard. If so, place plants with similar demand on the same lateral and use adjustable outlets only as a temporary correction. The tradeoff is more complicated maintenance, and complicated maintenance usually loses to August.
The research supports drip systems across soil types and slopes, with reported efficiency of 90 to 95 percent (Washington State University Extension). Efficiency does not mean every layout is wise. A badly grouped zone can still water the wrong plants very efficiently.
Who is drip irrigation design by soil type for, and who should ignore it?
This approach suits homeowners installing a new garden, replacing a leaking sprinkler line, or standing beside an existing system that dries plants at the far end. Ignore the soil spacing chart only if you have measured your wetting pattern and know your current layout works; otherwise, matching emitters to soil is the safer repair.
It is especially useful for fall planting because you can install the lines before winter growth fills the bed. In Central Texas, fall is also a good time to find broken fittings without standing over a hot garden hose in August. The work is less dramatic. That is a compliment.
You should not use one universal spacing rule for a property with sand, black clay, and imported topsoil. You also should not put trees, flowers, and drought tolerant shrubs on one schedule just because they share a faucet. Their root volumes and flow needs are different.
If your garden is only a few containers, a full zoned system may cost more time than it saves. A short hand watered line can be simpler, though its tradeoff is that you must remember every container during hot weather.
What should I do before installing drip irrigation this fall?
Before installing drip irrigation in fall, classify each bed by soil, sun, and plant size, then lay out emitters with a 6 inch stem offset and the correct soil spacing. Flush the tubing before attaching emitters, install a filter and pressure regulator, and run one test cycle while you inspect the soil.
Turn on the water with the ends open long enough to push out grit. Clogged emitters are a common failure point, and a clean installation is cheaper than replacing a whole buried line. The tradeoff of filters and regulators is a little maintenance, but dirty low pressure water is not a bargain.
Use stakes to keep the tubing in place, especially on sloped ground. Leave enough slack for seasonal adjustment, but do not leave loose loops where a mower, dog, or your own boot can catch them. Every garden has one fitting placed exactly where the shovel wants to go.
As you work, record the emitter count and flow beside each valve. If you want a layout before digging, you can get a concept for your yard, then compare that drawing with the actual soil you find on site. Drawings are helpful. The shovel still gets the final vote.
You can also check plant water needs and mature size in the plant database before choosing emitter flow. A plant’s label size is not decoration; it tells you whether today’s 0.5 gallon per hour outlet will still make sense after two growing seasons.
How often should I check a drip irrigation zone after installation?
Check each drip zone during its first run, again after one week, and monthly through the growing season, looking for clogged emitters, loose fittings, pooling, and dry areas. In fall, inspect after leaf drop and before a hard freeze, then reassess flow when plants begin active growth in spring.
Put a small catch cup beneath a few emitters during a test. You are checking whether the outlets deliver consistently, not trying to measure laboratory precision. A dry plant at the end of a line is evidence that the zone needs correction, not a reason to water the whole bed longer.
Watch the soil 6 to 12 inches from stems and beneath the mulch. Clay may spread water several feet, while sand can leave dry gaps between closely spaced emitters. Move an outlet, add a second one, or split the zone based on what the soil shows.
Do not bury the system so deeply that inspection becomes excavation. Surface or lightly covered tubing is easier to repair, though exposed tubing can be damaged by sun, animals, or garden work. The best installation is accessible enough that you can fix it before a plant complains.
What are the most common drip irrigation questions?
These answers cover the measurements that matter most in a home garden: spacing, flow, plant distance, zone capacity, and fall testing. Read them beside the bed, then verify the soil with your hand or a small trowel because a chart cannot see the compacted patch beside your patio.
How far apart should drip emitters be in sand, loam, and clay?
How far apart should drip emitters be in sand, loam, and clay? Use 12 inch spacing in sand, 18 inch spacing in loam, and 24 inch spacing in clay. Place an emitter about 6 inches from each plant stem, then add outlets where a larger plant needs broader root coverage or where sandy soil leaves dry gaps.
What flow rate should I use for small plants and flowers?
What flow rate should I use for small plants and flowers? Use a 0.5 gallon per hour emitter for small plants and flowers as a starting point. The tradeoff is limited coverage, so sandy soil may need additional emitters, while clay may spread the water farther but still require a second outlet for dependable coverage.
How many emitters does a 1 to 5 foot shrub need?
How many emitters does a 1 to 5 foot shrub need? Start with two 1 gallon per hour emitters placed 12 inches from the base, or use two 0.5 gallon per hour emitters when that total flow suits the zone. As the shrub grows, increase to 2 or 4 gallon per hour emitters or add outlets around the expanding root area.
How do I calculate the flow for one drip irrigation zone?
How do I calculate the flow for one drip irrigation zone? Add every emitter’s gallons per hour in that zone and compare the total with the system’s maximum capacity. For example, fifty 2 gallon per hour emitters equal 100 gallons per hour, or about 1.67 gallons per minute, before accounting for pressure and friction along the line.
Should different soil types share one irrigation zone?
Should different soil types share one irrigation zone? Different soil types should usually have separate zones because sand, loam, and clay spread water differently. Keep zones uniform in soil type, sun exposure, and plant water demand whenever possible, then use separate schedules instead of forcing one timer to solve three different root environments.
What should I inspect after installing drip irrigation in fall?
What should I inspect after installing drip irrigation in fall? Inspect the first test cycle for clogged emitters, loose fittings, pooling, and dry soil, then check the zone again after one week and monthly during the growing season. Flush the tubing before attaching emitters, and record the emitter count and total flow beside the valve.
Want a plan for your own yard?
Tell us the space and we will put a planting plan together for it. Start at get my concept, or browse what actually grows where you are over on plants.
Frequently asked questions
How far apart should drip emitters be in sand, loam, and clay?
How far apart should drip emitters be in sand, loam, and clay? Use 12 inch spacing in sand, 18 inch spacing in loam, and 24 inch spacing in clay. Place an emitter about 6 inches from each plant stem, then add outlets where a larger plant needs broader root coverage or where sandy soil leaves dry gaps.
What flow rate should I use for small plants and flowers?
What flow rate should I use for small plants and flowers? Use a 0.5 gallon per hour emitter for small plants and flowers as a starting point. The tradeoff is limited coverage, so sandy soil may need additional emitters, while clay may spread the water farther but still require a second outlet for dependable coverage.
How many emitters does a 1 to 5 foot shrub need?
How many emitters does a 1 to 5 foot shrub need? Start with two 1 gallon per hour emitters placed 12 inches from the base, or use two 0.5 gallon per hour emitters when that total flow suits the zone. As the shrub grows, increase to 2 or 4 gallon per hour emitters or add outlets around the expanding root area.
How do I calculate the flow for one drip irrigation zone?
How do I calculate the flow for one drip irrigation zone? Add every emitter’s gallons per hour in that zone and compare the total with the system’s maximum capacity. For example, fifty 2 gallon per hour emitters equal 100 gallons per hour, or about 1.67 gallons per minute, before accounting for pressure and friction along the line.
Should different soil types share one irrigation zone?
Should different soil types share one irrigation zone? Different soil types should usually have separate zones because sand, loam, and clay spread water differently. Keep zones uniform in soil type, sun exposure, and plant water demand whenever possible, then use separate schedules instead of forcing one timer to solve three different root environments.
What should I inspect after installing drip irrigation in fall?
What should I inspect after installing drip irrigation in fall? Inspect the first test cycle for clogged emitters, loose fittings, pooling, and dry soil, then check the zone again after one week and monthly during the growing season. Flush the tubing before attaching emitters, and record the emitter count and total flow beside the valve.
Free, no obligation
Ready to design your dream landscape? Start here.
Tell us where you are and we will start a free profile for you, with plants that actually survive your climate and a real sense of what the build would cost.